Get Started with Connect#
Connect helps you to easily add an intuitive, multichain asset transfer UI to your web applications. The guide demonstrates how to configure the Connect widget, add it to a React application, and view it locally.
Install Connect#
To install the Wormhole Connect npm package, run the following command:
Prerequisites#
Before you begin, make sure you have the following:
-
(Optional) To test a transfer from your demo app, you'll need:
- A wallet with Sui testnet tokens.
- A wallet with an Avalanche Fuji address (to use as the recipient; no tokens required).
Install and Set Up Project#
-
Clone the demo repository and navigate to the project directory:
-
Install the dependencies. This example uses the Connect version
5.1.1: -
Start the application:
-
Open your browser to
http://localhost:3000to view the application locally.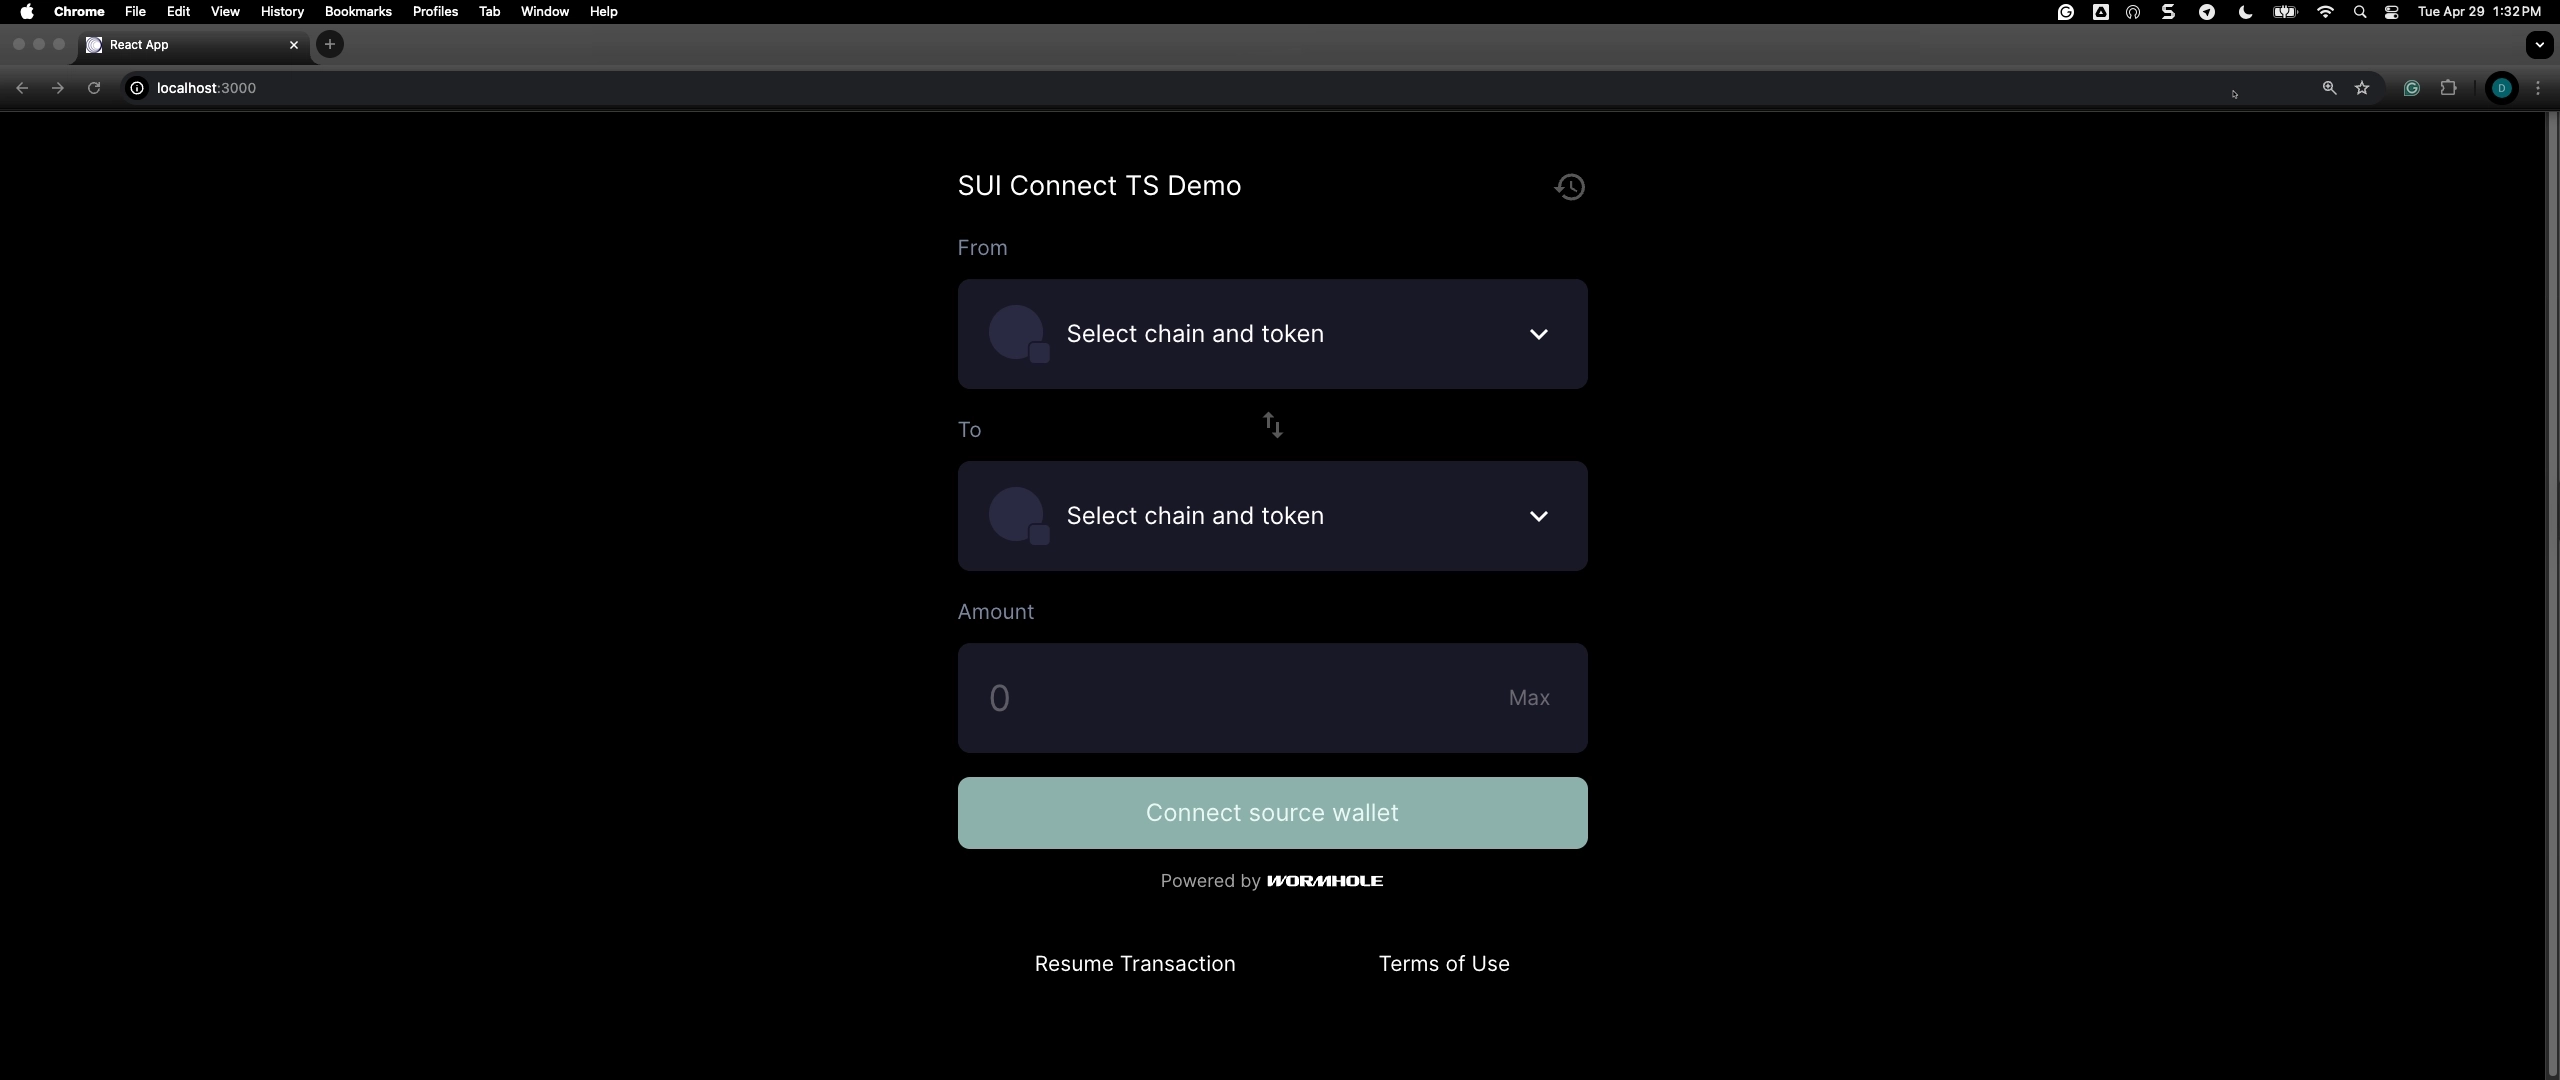
Configure Connect#
Open the App.tsx file in your code editor of choice. You will see code similar to the following:
import './App.css';
import WormholeConnect, { type config, WormholeConnectTheme } from '@wormhole-foundation/wormhole-connect';

function App() {
  const config: config.WormholeConnectConfig = {
    // Define the network
    network: 'Testnet',

    // Define the chains
    chains: ['Sui', 'Avalanche'],

    // UI configuration
    ui: {
      title: 'SUI Connect TS Demo',
    },
  };

  const theme: WormholeConnectTheme = {
    // Define the theme
    mode: 'dark',
    primary: '#78c4b6',
  };

  return <WormholeConnect config={config} theme={theme} />;
}

export default App;
The preceding sample code configures Connect by setting values inside config and theme as follows:
- Defines the network: Options include
Mainnet,Testnet, orDevnet. - Defines chains to include: This example uses Sui and Avalanche. See the complete list of Connect-supported chain names if you would like to use different chains.
- Adds a title to UI: (Optional) If defined, it will render above the widget in the UI.
- Defines the theme: This example sets the mode to
darkand adds a primary color.
Interact with Connect#
Congratulations! You've successfully used Connect to create a simple multichain token transfer application. You can now follow the prompts in the UI to connect your developer wallets and send a test transfer.
Next Steps#
Use the following guides to configure your Connect instance and integrate it into your application.
-
Data Configuration
Learn how to specify custom networks and RPC endpoints, integrate different bridging protocols, add new tokens, and more.
-
Theme Configuration
Learn how to customize Connect's look and feel to match your application's branding.
-
Integrate Connect into a React DApp
Learn how to integrate Connect into a React application, including setting up the widget and handling transfers.
-
Wormhole Dev Arena
A structured learning hub with hands-on tutorials across the Wormhole ecosystem.
| Created: March 31, 2026